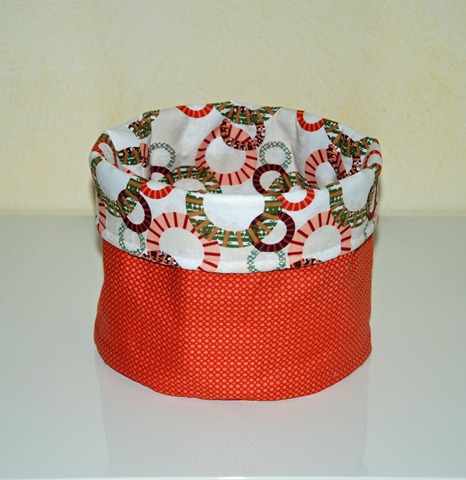
Supply list:
- basic sewing supplies (sewing machine, iron, fabric marker, scissors, rotary cutter, ruler, etc.)
- outer fabric, depending on size of your basket
- inner/ lining fabric, depending on size of your basket
- fusible batting, depending on size of your basket
- a round object to trace or compass
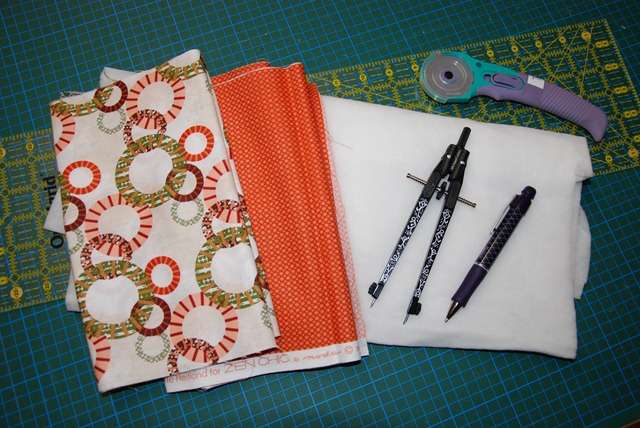
1. Cutting
This fabric basket is made from a circle and a long rectangle.
First, decide on the size of the circle. Then you calculate the length of your rectangle. Remember what you learned in school? The cirumference of your circle is equal to 6,28 x radius of your circle. (Remember: 2 x pi x r) Some things you learned were really learned for life ;o) Oh, and add a generous seam allowance to your rectangle!
Choose height of your rectangle according to your needs.
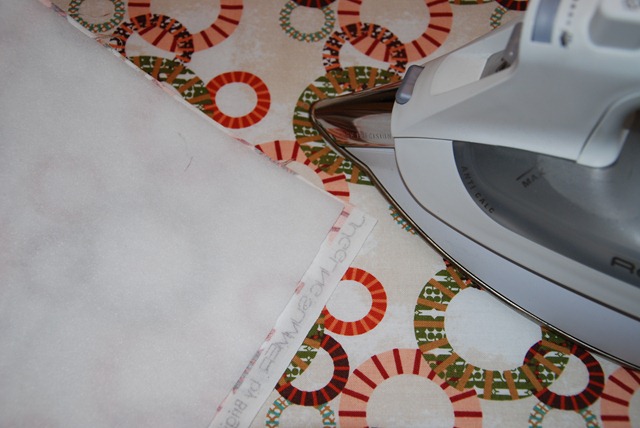
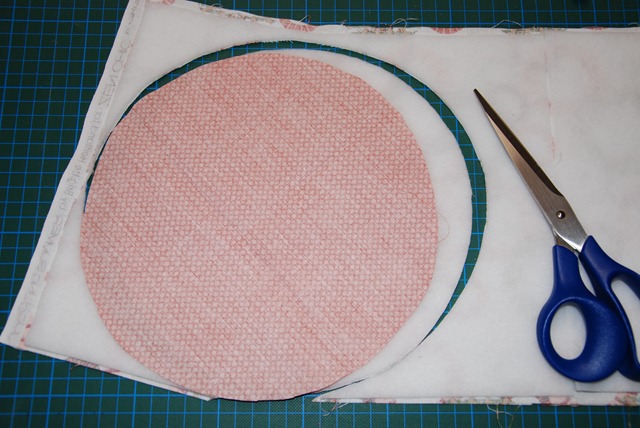
2. Fuse your batting to the outer fabric. Follow manufacturer’s advice.
3. Draw the circle onto your fabrics, either tracing a round shape or using your compass.
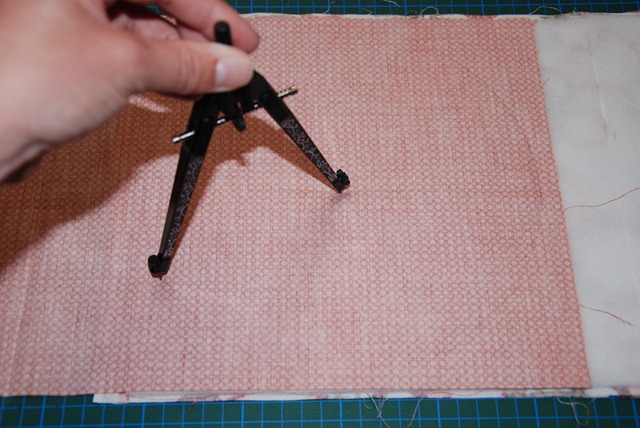
4. Cut out the cirles and the rectangles.
5. Lay out your rectangles right sides together and sew along one long side.
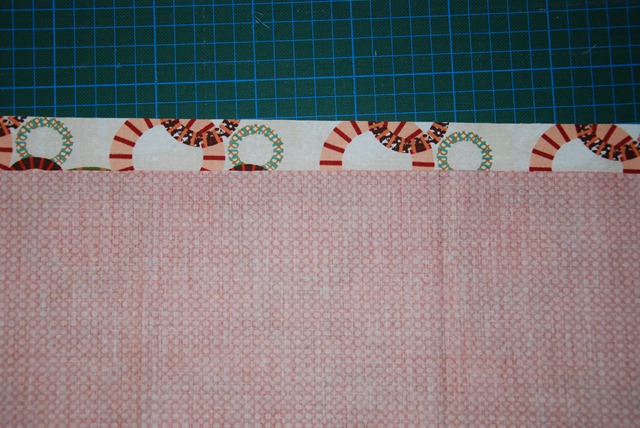
6. Open up and mark the centres of both raw long sides.
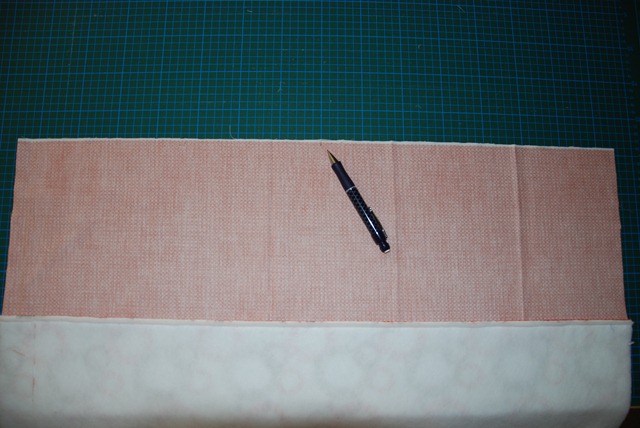
7. Take your lining fabric circle and your lining rectangle and lay them out right sides together.
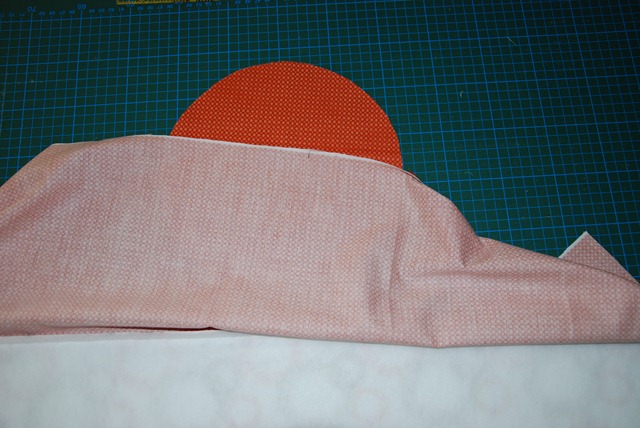
8. Pin centre of rectangle to any point of your circle.
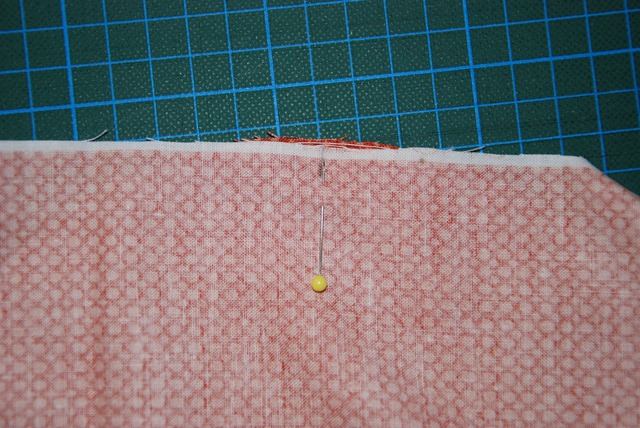
9. Pin all around the circle…
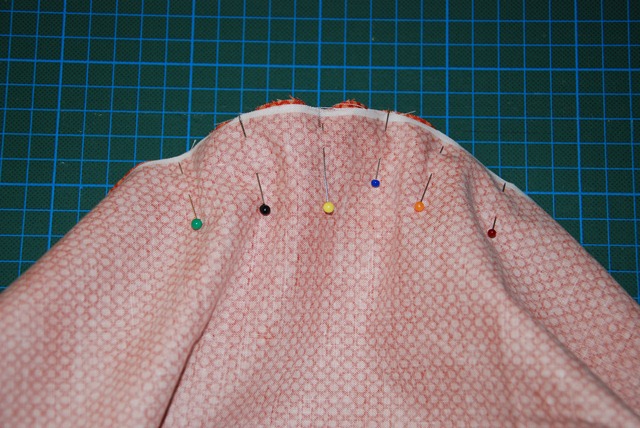
…until it looks like so:
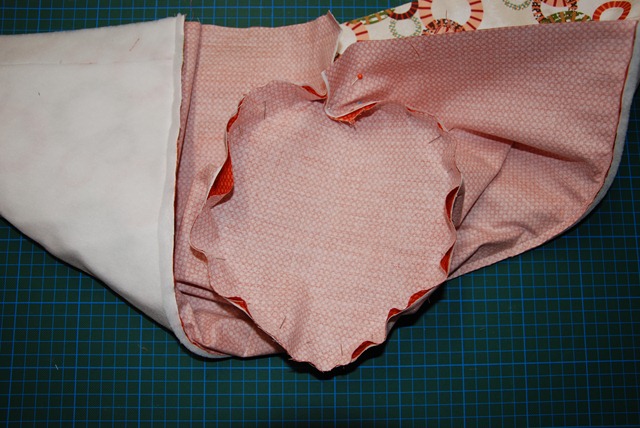
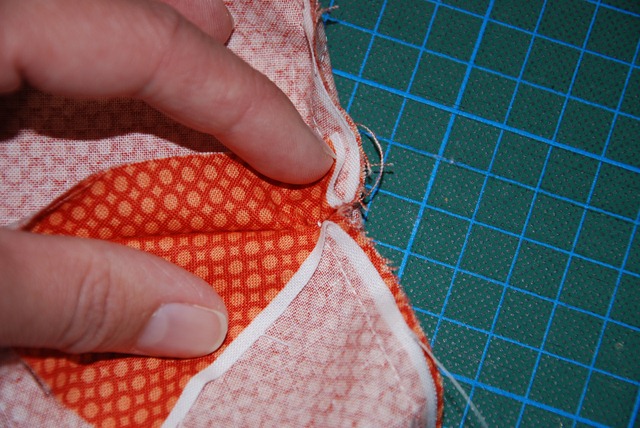
10. Sew all around the circle, just remember to backstitch at the start and in the end to secure your seams.
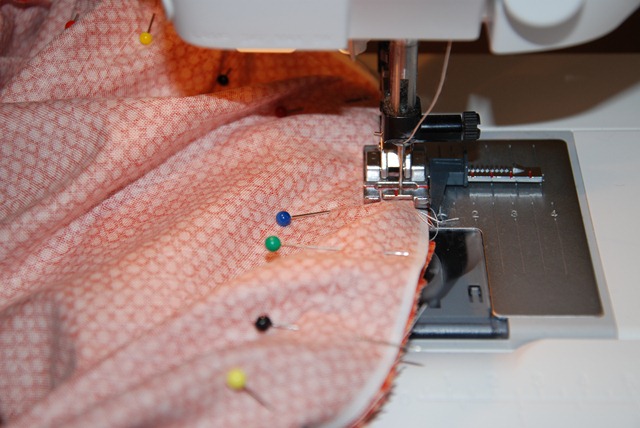
Make sure you finish your seam in the exact place where you started it. Like so:
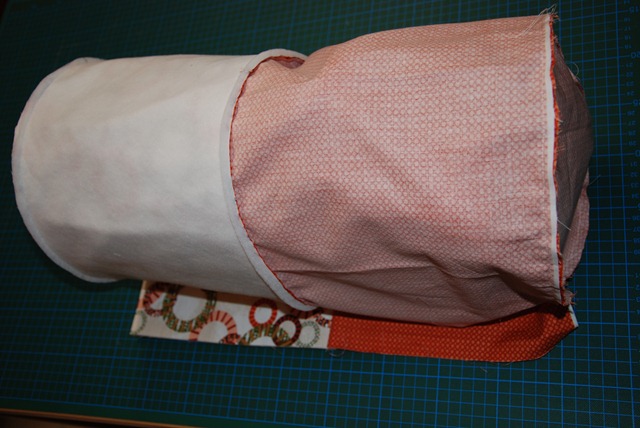
11. Repeat no. 7-10 and attach your outer fabric circle to your outer fabric rectangle. Afterwards it should look like this: a long tube with an open side.
12. Sew from one end to the other, leaving an opening in the lining fabric.
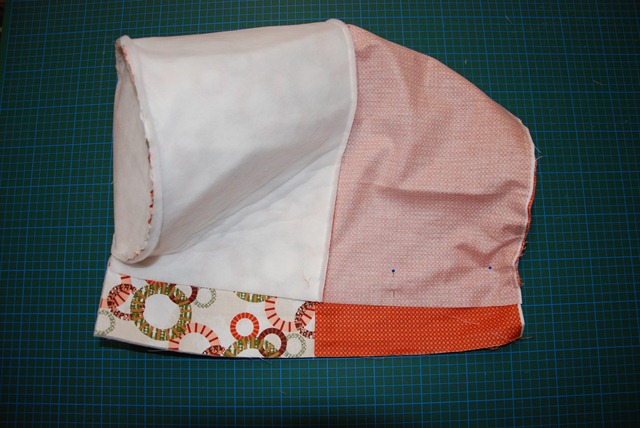
13. Cut back your seam allowance to 1/2”, turn inside out and close the opening (by hand or using your sewing machine). You might want to stitch around the top edge of your fabric basket once but that’s really up to you.
Enjoy the variety of your new fabric basket (o;

Credits: Fabrics used in this tutorial: two prints of Juggling Summer from Zen Chic (Brigitte Heitland) for Moda.
Thanks for reading. If you do have any questions, please let me know in the comments, I’ll try to answer them asap.
Happy Sewing (o:
Christine

super tutorial, das inspiriert mich total, auch mal wieder Körbe zu nähen! Vielen Dank dafür
ReplyDeleteI do need to try this ; )
ReplyDelete